Art Lessons
|
Scruffy |
 |
|
Lesson 2
Learning about underpaintings
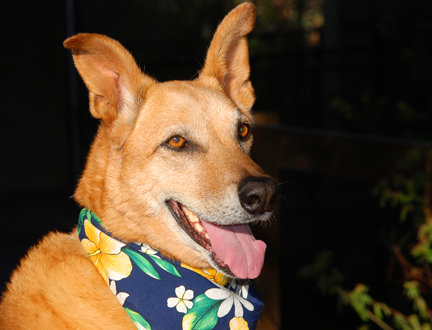
- Try to find a good photograph
of a pet with a simple background so you may focus on your main
subject
|
 |
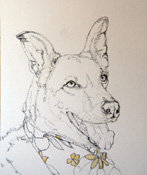
| - Again, you may wish to draw
the picture upside down or trace it so that you have the proportions
right. |
 |
| - Then spend some time drawing
details for the eyes, mouth and nose. I then masked a few highlight
areas and white areas. |
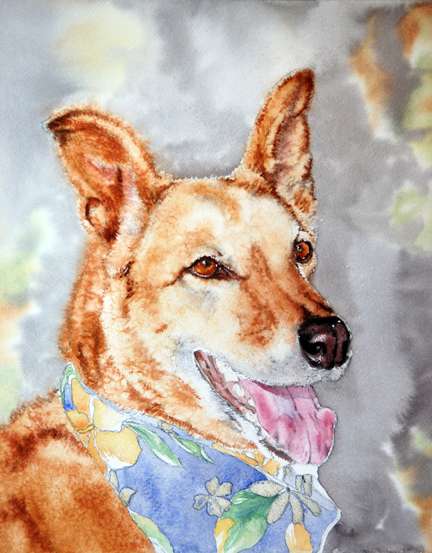
| - Next, I work on the underpainting.
A light wash helps define your subject, background and your color
and value relationships. At this point I can decide if the painting
will be pleasing in my color choices and I can make changes if
I want to in the next layer. I mixed quin. burnt orange and yellow
ochre for the fur, wet the area then put in the paint sparingly.
I waited a few minutes then applied some salt then left it alone |
 |
| - The fur seems a little too
orange at this point but I will add more yellow ochre in the
layers ahead and the darker background will lighten the dog.
The only other time I used salt was for the nose. Wet the eye
area before you drop in the color. The eyes are painted with
quin. gold with a touch of quin. burnt orange around the edges. |
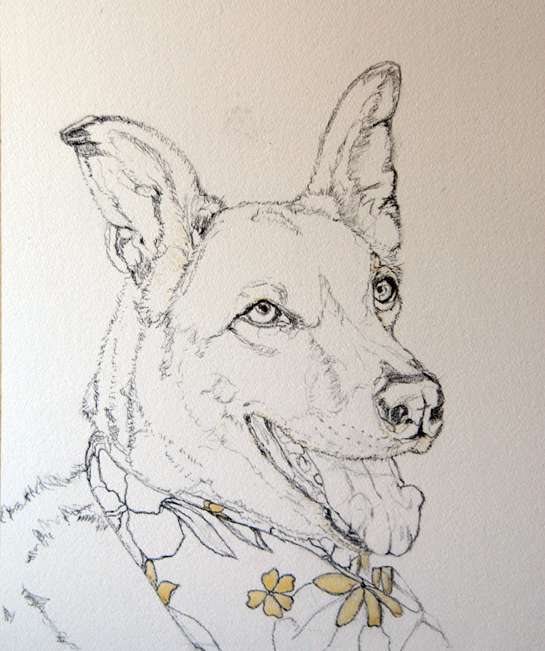
| - At this point I developed
the eyes, nose and tongue. |
 |
| - Try to find links into your
background so that you subject does not look pasted on. I found
links under the tongue, side of the nose and parts of the ears
as you will see in the next step. |
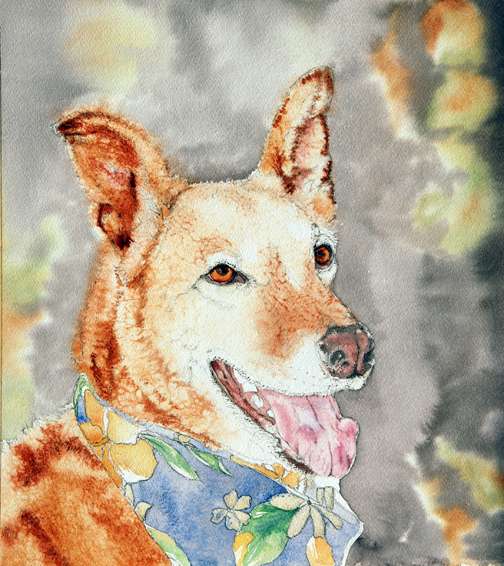
| - At this final step I applied
another layer of yellow ochre to the fur and then darkened the
background. I mixed perm. alizarin crimson, prussian blue and
quin. burnt orange and layered it on about 4 times with each
subsequent layer with more paint and less water. |
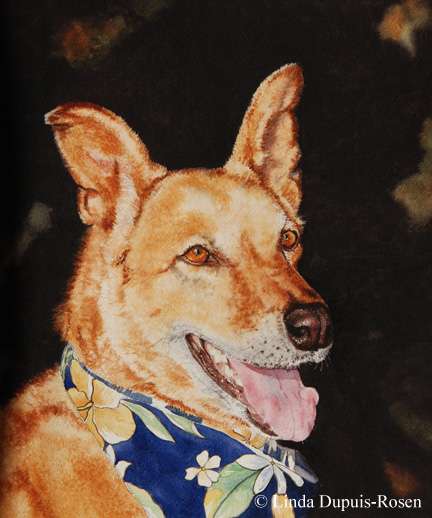 |
| - Notice how the colors seem
to become lighter once I put in the darker background. Scruffy
is now done! |
|